Spring Boot之——Web MVC开发

SpringMVC自动配置概述

目的:掌握SpringBoot对Web MVC的自动化配置支持

解析:

参考官网;介绍如下:

Spring Boot为Spring MVC提供了自动配置,可与大多数应用程序一起很好地工作。

自动配置在Spring的默认值之上添加了以下功能:

  • 包含ContentNegotiatingViewResolverBeanNameViewResolver视图解析器。
  • 支持服务静态资源,包括对WebJars的支持。
  • 自动注册ConverterGenericConverterFormatter
  • 支持HttpMessageConverters
  • 自动注册MessageCodesResolver国际化。
  • 静态index.html欢迎页支持。
  • 定制Favicon网站icon图片支持。
  • 自动使用ConfigurableWebBindingInitializerbean。

如果要保留这些Spring Boot MVC定制并进行更多的MVC定制(拦截器,格式化程序,视图控制器和其他功能),不用@EnableWebMvc注解。使用 @Configuration + WebMvcConfigurer 自定义规则

小结:

  • SpringMVC 有了SpringBoot加持,让开发web应用更加的简单。

静态资源支持

目的:

  1. 了解 SpringBoot对静态资源(js/css/image等)支持
  2. 能修改原属性配置

讲解:

1、默认情况下:

Spring Boot从类路径中名为/static/public/resources/META-INF/resources)的目录中或从的根中提供静态内容。

新建一个Maven项目,将图片 下的图片分别放在对应的目录下:

image-20210503015019177 image-20210503015216202

注意:/META-INF/resources是两级文件夹

浏览器访问:http://localhost:8080/4.jpg

2、修改默认配置:

1
2
3
4
5
6
7
spring:
mvc:
static-path-pattern: /web/**
# 资源访问路径 http://localhost:8080/web/4.jpg

#resources:
# static-locations: [classpath:/myweb/] # 静态资源位置修为myweb

对应属性配置源码:

image-20210503015824230

浏览器访问:http://localhost:8080/web/4.jpg

小结:

  • 约定 优于 配置;
  • 配置完成注释即可,实际开发一般不予修改;

拦截器支持

目的:理解SpringBoot对拦截器支持,并且能够独立配置拦截器

步骤:

  1. 编写MyInterceptor类实现HandlerInterceptor接口
  2. 拦截器注册到容器中(实现WebMvcConfigurer的addInterceptors)
  3. 释放静态资源

实现:

MyInterceptor类重写 类中的方法:

1
2
3
4
5
6
7
8
9
10
11
12
13
14
15
16
17
18
19
20
21
22
23
24
25
26
27
28
29
30
31
32
33
34
35
36
37
38
39
40
41
42
43
44
45
46
47
48
49
50
package com.itheima.sh.intercepter;

import org.springframework.web.servlet.HandlerInterceptor;
import org.springframework.web.servlet.ModelAndView;

import javax.servlet.http.HttpServletRequest;
import javax.servlet.http.HttpServletResponse;

public class MyInterceptor implements HandlerInterceptor {
/**
* 方法执行之前执行
*
* @param request
* @param response
* @param handler
* @return
* @throws Exception
*/
@Override
public boolean preHandle(HttpServletRequest request, HttpServletResponse response, Object handler) throws Exception {
System.out.println("MyInterceptor preHandle.......");
return true;
}

/**
* 方法执行完成之后, 返回值返回给前端之前执行
* @param request
* @param response
* @param handler
* @param modelAndView
* @throws Exception
*/
@Override
public void postHandle(HttpServletRequest request, HttpServletResponse response, Object handler, ModelAndView modelAndView) throws Exception {
System.out.println("MyInterceptor postHandle.......");
}

/**
* 页面渲染之后执行
* @param request
* @param response
* @param handler
* @param ex
* @throws Exception
*/
@Override
public void afterCompletion(HttpServletRequest request, HttpServletResponse response, Object handler, Exception ex) throws Exception {
System.out.println("MyInterceptor afterCompletion.......");
}
}

拦截器注册到容器中(实现WebMvcConfigurer的addInterceptors):

1
2
3
4
5
6
7
8
9
10
11
12
13
14
15
16
17
18
19
20
package com.itheima.sh.config;

import com.itheima.sh.intercepter.MyInterceptor;
import org.springframework.context.annotation.Configuration;
import org.springframework.web.servlet.config.annotation.InterceptorRegistry;
import org.springframework.web.servlet.config.annotation.WebMvcConfigurer;

/**
* @Description: WebMVC 配置类
*/
@Configuration
public class WebMvcConfig implements WebMvcConfigurer {

@Override
public void addInterceptors(InterceptorRegistry registry) {
registry.addInterceptor(new MyInterceptor())
.addPathPatterns("/**") // 拦截所有请求
.excludePathPatterns("/**/*.css","/**/*.js","/**/*.jpg"); // 排除拦截的请求
}
}

小结:

1、定义拦截类,实现HandlerInterceptor;

2、配置拦截规则:

​ 2.1 定义配置类@Configuration,实现WebMvcConfigurer下的addInterceptors方法;

​ 2.2 配置拦截规则;

Servlet、Filter、Listener支持

目的:理解SpringBoot对SpringMVC原生组件的支持

步骤:

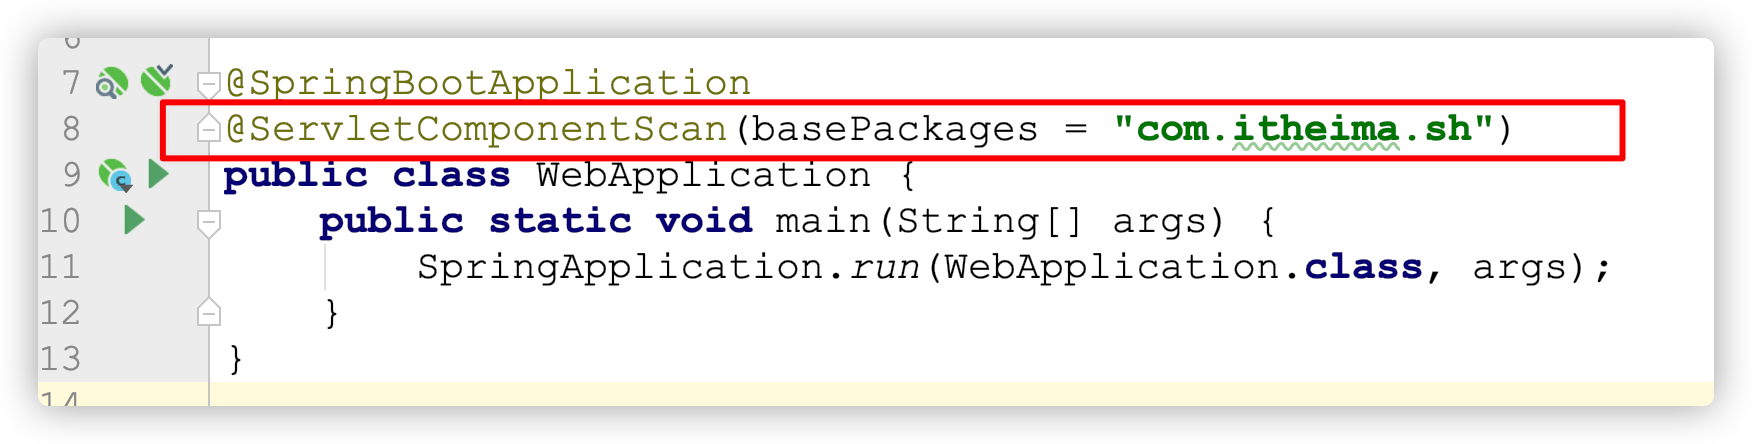
1、@ServletComponentScan(basePackages = “com.itheima.sh”) :指定原生Servlet组件都放在那里

2、编写对应的组件

@WebServlet(name=“”, urlPatterns = “/my”):效果:直接响应

@WebFilter(urlPatterns={“/css/*“,“/images/*“})

@WebListener

实现:

1、添加注解支持

image-20210503023851378

2、新建 web 包,将 资料/web文件夹下代码复制到当前工程

3、启动测试